There is one flair on the tariff these days and that is the art of photography, from beauty of nature to the self-portraits, from dreamy photo-shoots to the rawness of images, everything & anything can be clutched up on the camera lenses.
Passion of photography:
Professional photographers mooch around to get the best knack that helps them in photography and for this they don’t pay heed to the cost and expenses it bears. Photos taken even from the hands of a pro have to be flawless, blemish-free and first-rated so keeping that fact in assessment– Sleeklens has come up with exceptional Lightroom presets to thrush magic on the photographs like never before.
About Sleeklens:
Sleeklens is a whole lot team that consists of designers and plenty of pro photographers who have been investing their time and creativity into the field of photography, they believe that there is always a best option to go about. The Lightroom presets presented by Sleeklens are totally specialized, mind-numbing and impeccable that are easy to do, undo and enhanced.
Lightroom Presets:
Lightroom offers multitude of presets that give an entire new and refined soul to the photographs. So what are you waiting for, let’s know about each one the 10 best Lightroom preset bundles in a quick preview down here:
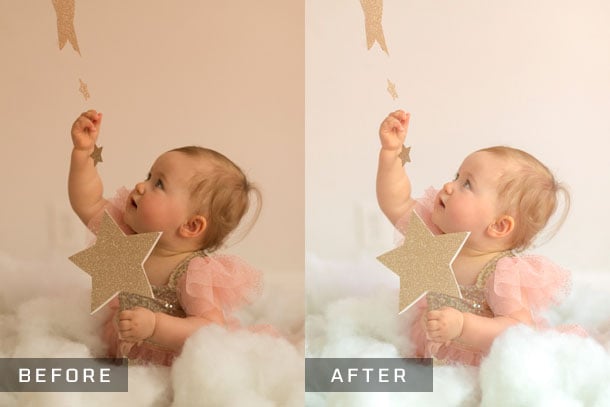
1: NEWBORN DELIGHTS WORKFLOW
With newborn delights preset, a smooth and soft touch can be given to the pictures, be more carefree with brightness, contrast and whole light setup because this single Lightroom preset does it all.
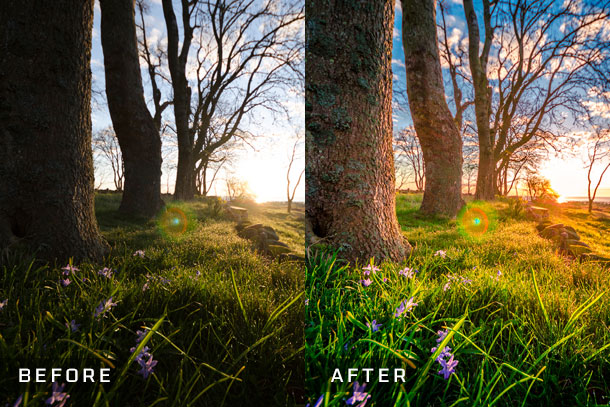
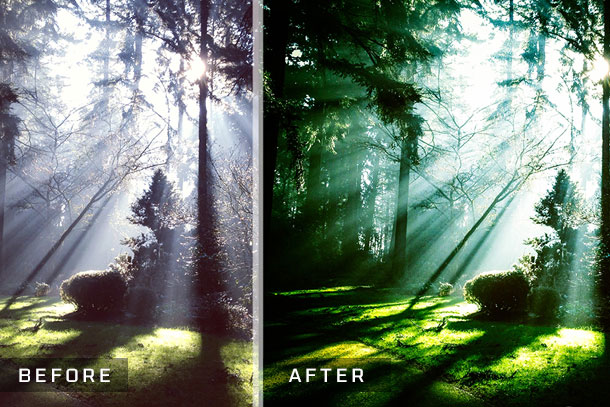
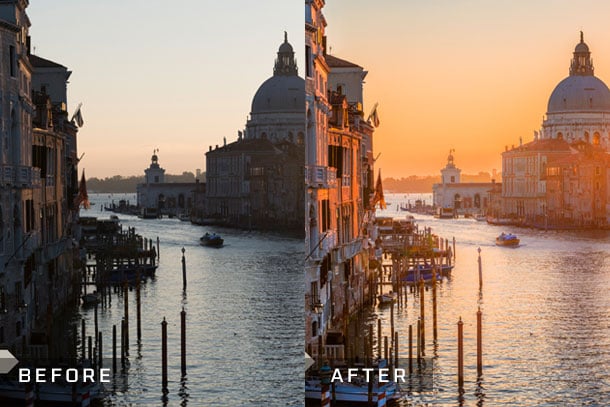
2: THROUGH THE WOODS WORKFLOW
‘Through the woods’ preset provides smooth tints of sunlight to the pictures. There is HDR and landscape adjustment options as well, which may insert the feel into the pictures as if you are wading through light serene grass.
Speed Edit Video
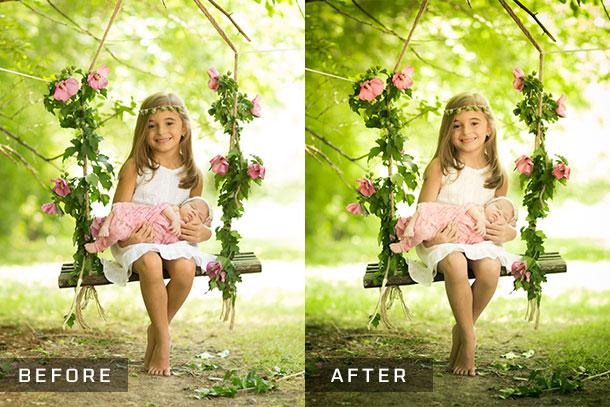
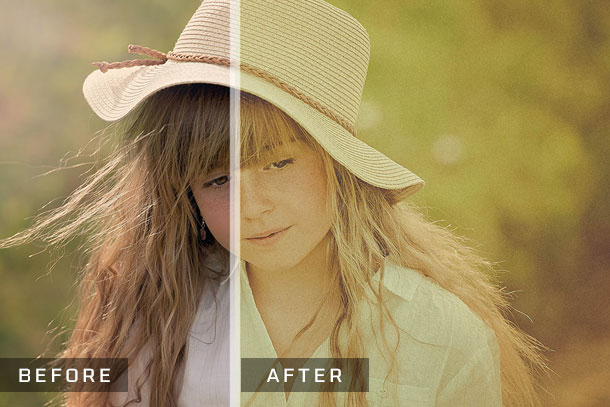
3: STRIKE A POSE WORKFLOW
Adding a new feel to the photos has never been this easy, try this preset out to give more realness to the pictures. The feature of smoothness in the Lightroom preset makes skin tone looks magical.
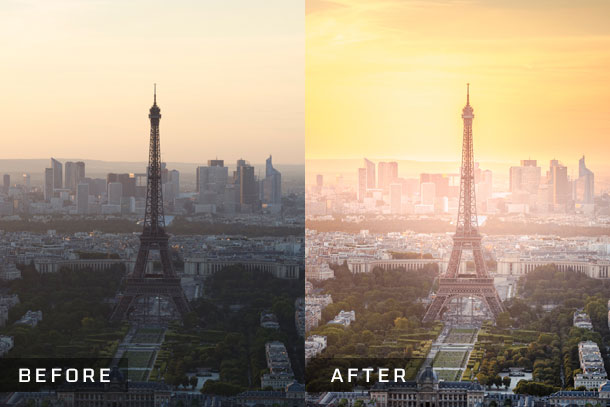
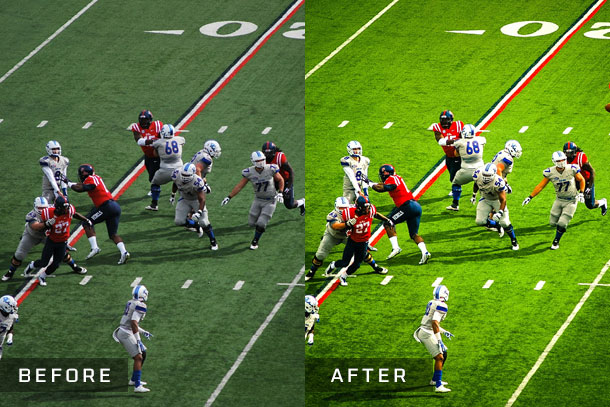
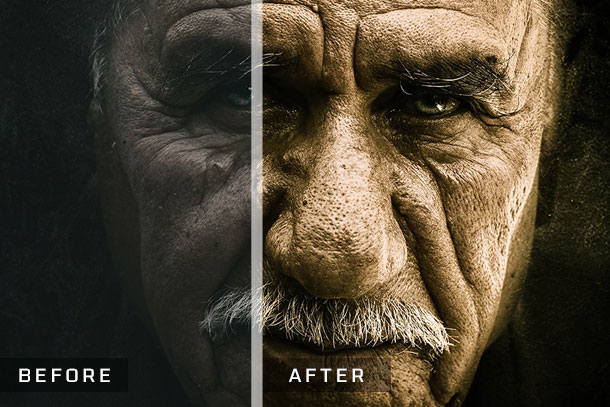
4: OUT OF THE SHADOWS HDR WORKFLOW
Sharpness to the picture has become easy with this Lightroom preset. Out of the shadows preset will be very apt for street, architectures and landscape photography.
5: THE ULTIMATE LIGHTROOM PRESET BUNDLE
In this mega pack of Lightroom presets you can get anything and everything with a bit more refined feel. Pro photographers as well as newbie can try this bundle out for almost all sort of photography genres.
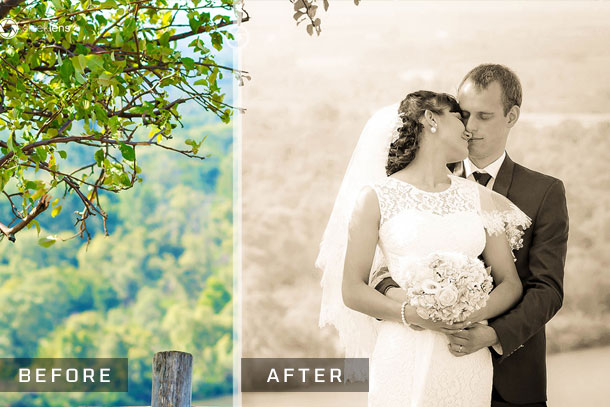
6: WEDDING BEAUTY LIGHTROOM PRESETS
Add extra beauty and charisma to the pictures of the big event. Make photographs memorable and breath-taking by applying the Lightroom preset of wedding beauty.
7: VINTAGE MEMORIES LIGHTROOM PRESETS
Pictures are timeless, add the Vintage feel to the pictures to make them stark, subtle and beautiful with Vintage memories Lightroom preset.
8: SPLIT TONING LEAKS LIGHTROOM PRESETS
Split toning makes photographs stunning, toning the pictures in your own signature style would make them worth watching.
9: OUT OF THE SHADOWS HDR WORKFLOW
Adding natural lights to the photographs is extremely simple with Shadows HDR Workflow create a sense out of photos and add more details to it. This workflow is generated for architecture, street and landscape photography.
10: HIGH CONTRAST BLOW LIGHTROOM PRESETS
Make the images attractive and more meaningful by adjusting the contrast and adding meaning to it with high contrast blow Lightroom preset.
I am sure now you can now get a pretty idea how photographs can be transformed into magic and true beauty with Lightroom presets.
You can also look at the remaining presets of Lightroom from the website.
Regardless of the topic of our work, when we decide to work as dedicated photographers it becomes essential to know how to perform a proper post production of the work we already done. The key point on performing a digital post production is to improve the work we have accomplished; compensating values at undesired situations such as underexposure/overexposure, strong highlights, etc. but also enhancing critical points of the image with the mere aim into giving more “feeling” to the picture as a way to transmit a whole scenario rather than just a point-and-shoot instance.
In order to perform these adjustments we can either work with Lightroom’s tools, which will require from us some background knowledge on how the software works, or we can decide to work our way with presets.
Presets, unlike Photoshop’s plugins, are defined actions (or adjustments) to be made at the sliders available in the different panels that Lightroom provide. We can also work with Lightroom Brushes, which happens to have the same logic as presets, only that it is applied for the Adjustment Brush tool.
In most cases you will find yourself working with a combination of both methods as Sliders provide full control on what is happening to your picture whereas presets and brushes become fantastic in order to create quick dazzling effects. Obviously you can adjust afterwards the effect the preset made by tweaking the Sliders that it affected, although it won’t be much help to use a preset that you have to constantly modify afterwards.
Regarding that last statement it is also highly recommended to know the quality of the product you are acquiring beforehand in order to avoid further complications regarding the potential of usage these presets (or brushes) can have. A good quality preset is the one that won’t add undesired effect such as film grain or noise, that can enhance the picture in a way it would take a long time to accomplish in our own, but also the one that you feel you can apply on countless occasions, even if it is not the kind of scene for which is meant to use. Presets like what I mentioned before take a step ahead and become lifelong companions rather than simple tools we use once in a while, and the same applies to brushes.
For example imagine you took a picture of a landscape that looks lifeless: dull tones, incorrect exposure values… you get the picture.
The first step on this adjustment process is to compensate White Balance with the tools provided at Lightroom; that can be setup either by working with the Dropper tool (sampling at an a mostly equal R, G, B value which stands for neutral grey) or with the Temp/Tint sliders until you are pleased with the result obtained. It is primordial to perform this adjustment as a first step since it will completely change hue values for the picture we are working with, therefore it will affect the postproduction process we have been working in if we perform this adjustment as a final stage.
Some preset bundles, like Sleeklens’ Workflow editions, contemplate that need for photographers, therefore providing users with White Balance correction presets, which are mostly uncommon at the industry.
Then, according to your picture needs you will have to apply adjustments to the Basic Panel at the sliders provided in it. Conditions such as underexposure/overexposure can be compensated either with the Exposure slider or if you want a richer adjustment you can work your way with Highlights, Shadows, Whites and Blacks until the conditions of the image become lessened or improved.
Presets can handle several of these adjustments in only a few seconds, and, at the same time, also correcting Contrast, Clarity, Vibrance or Saturation for the picture we are working on.
Tone tint adjustments can be done either with the Tone Curve panel, via presets (with Tone-Tint presets) or with the Split Toning tool that replaces Shadows and Highlights values with tones defined by the user, which radically produces a completely different feeling on the image we are working on.
Advanced effects like Vignetting can be also achieved via Presets in only one click or if you are old fashioned enough you can perform it by accessing at the Lens Correction panel and then go to Manual adjustments or via Effects panel and apply a post-cropping lens vignetting.
Into what regards to Brushes, we can start by defining them as local adjustments to be made on certain points of the image, therefore gaining a much professional control on what is going on with the image we work with.
Brushes control almost the very same variables as the panels we been working with (which are the adjustments made by the presets) and several brushes can be applied at the very same image depending on what is the aim of our postproduction work.
The only “flaw” that Lightroom provides is the lack of organization at the menu where we access to the Brush presets if we compare it to the common preset menu. You won’t see folders even if you created some for quicker organization; Lightroom will store them in alphabetical order and if you created some folders is going to repeat presets with the very same name after finishing with each folder. That can be a bit frustrating, especially for new users, as you sometimes have to go all the way through the menu in order to locate where Lightroom has stored the brush you want to apply, but in the end it’s worth the effort.
Consider Presets and Brushes as tools that you can apply at any chance you have rather than a last resort when everything else fails. Getting accustomed to work with presets can surely improve your workflow in over 100% into what regards to speed, mostly if you have to process large batches of pictures in a very short time. The process will become natural as you dedicate practice to it, meaning that you can only become better and better as time goes by; that’s one of the magical things about Lightroom and why users prefer it as the main post production software used nowadays: you’re learning how to become a better photographer while using it.
Recommended Posts:
- 30 Best Double Exposure Photography Examples | A New Photo Trend of 2015
- Top 10 Best Quality Drones for Photography & Video Recording / Streaming
- Stunning Drone Photography by Amos Chapple
- Top 10 Best DSLR Camera Tripods & Monopods You Should Not Miss
- 45 Degree Photography | 60+ Beautiful Examples for Inspiration
- 10 Quick Tips for Perfect Selfie | The New Joy of Photography
Tags: best lightroom presets, best photo effects, professional photographers